Get started
This guide will give you the steps to install MonoGame, get a basic project setup, and build an output that you can publish.
Install
- Get the .NET 10.0 SDK.
- Test that dotnet is installed correctly:
dotnet --version - Get the MonoGame templates:
dotnet new install MonoGame.Templates.CSharp
Create a new game
Replace MyGame with your game’s name in the following two command:
dotnet new mgdesktopgl -o MyGame
cd MyGame
Run
dotnet run
Publish
You can publish on Windows, Mac, and Linux using:
dotnet publish -c Release -r win-x64 -o artifacts/windows --self-contained
dotnet publish -c Release -r osx-x64 -o artifacts/osx --self-contained
dotnet publish -c Release -r linux-x64 -o artifacts/linux --self-contained
You’ll find the output in:
artifacts/windows
artifacts/osx
artifacts/linux
You can zip those folders to share your game.
MonoGame Content Builder Editor
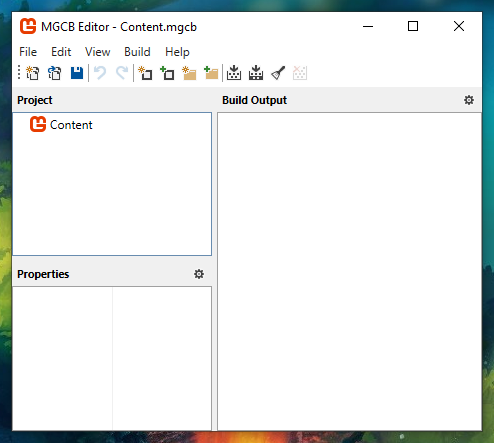
To launch the MonoGame Content Builder Editor, you can call the following command from the root folder of your project:
dotnet mgcb-editor Content/Content.mgcb
You should see this window appear:
Notes
To build shaders, make sure you have the Visual Studio 2013 redistributable (vcredist_x64.exe) installed. Otherwise you might see an error about the builder being unable to load libmojoshader_64.dll.
Read more
You can read more getting started info from the official MonoGame docs.
Now that you have a project, the next step is to setup a development environment. Developing with Visual Studio Code.
Edit this page on GitHub